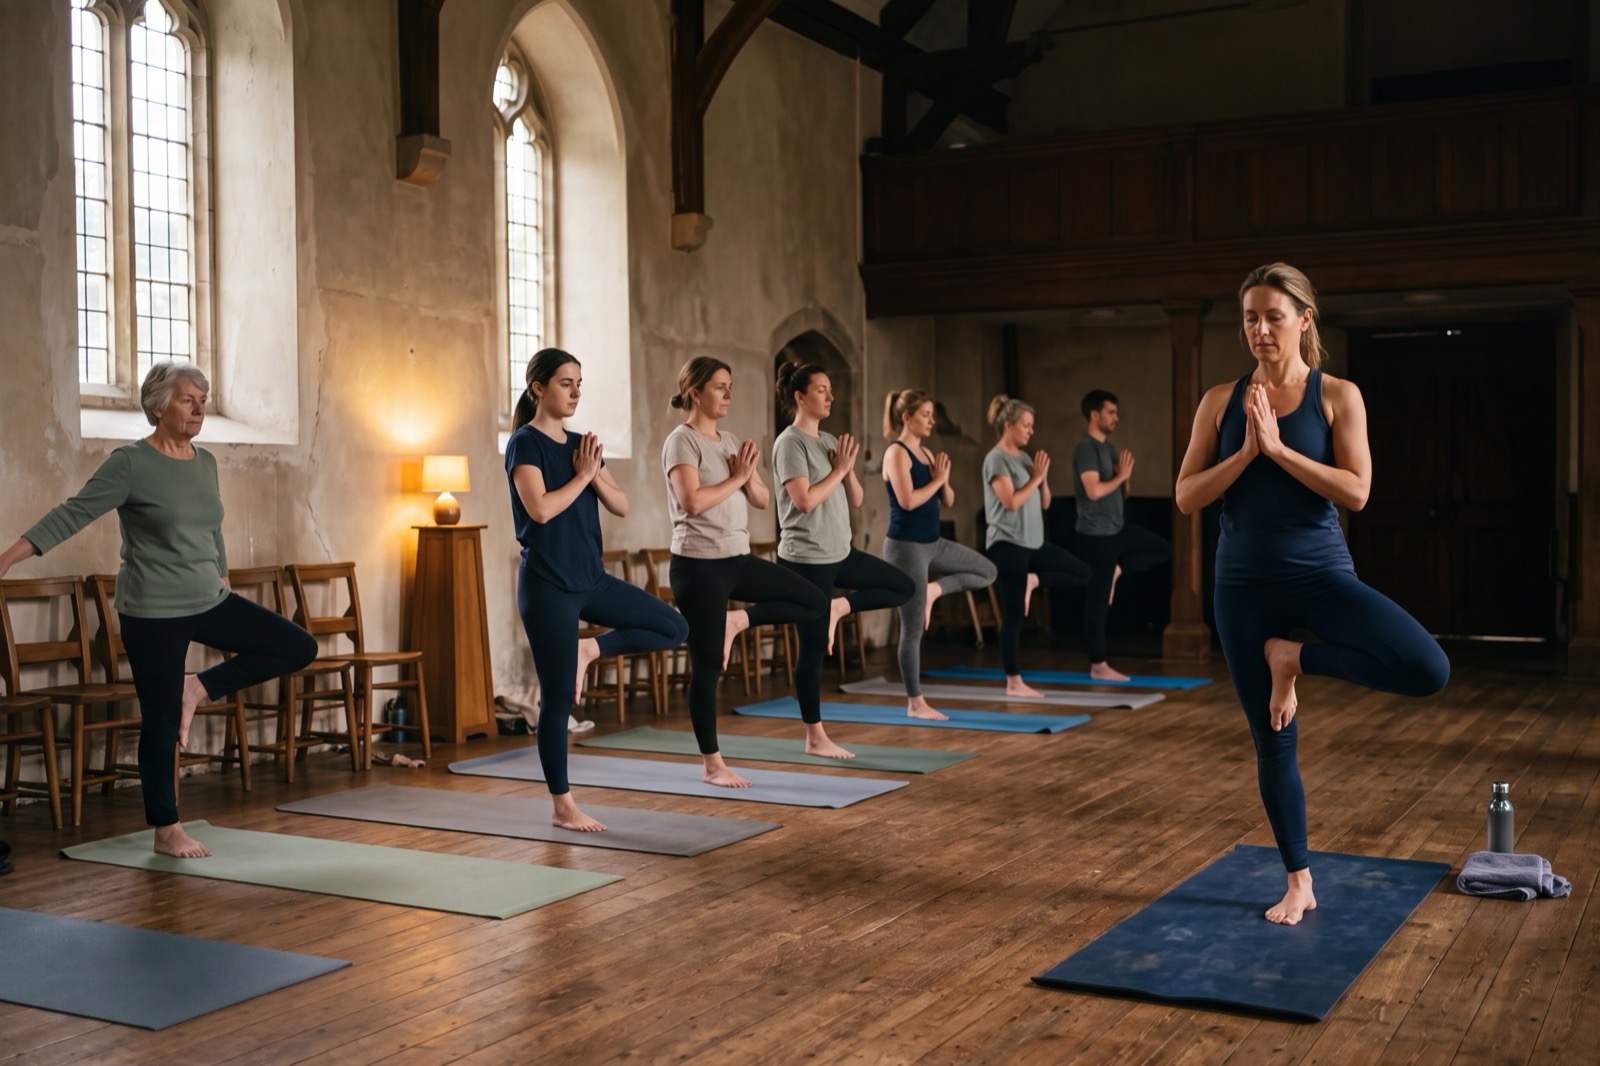
- In a mixed-ability class, demonstrate the final posture once so everyone can see the shape they are working towards.
- Give experienced students one line of permission to go into the full expression, instead of a walk-through of something they already know.
- Then return to the simplest variation and break it down into small steps, with the key actions and any safety points.
- Offer two or three progressions on top of it, and plan them before class rather than inventing them mid-demonstration.
- Avoid labels like beginner, intermediate and advanced. Call them options or variations so nobody feels sorted into a group.
- Hand the choice to the students. Invite each person to take the option that suits their body that day.
Show the final posture first, then go back to the simplest version and build up from there. Everyone gets to see where the posture is heading. Students who already know it get one line of permission to go there. The newer ones get it broken down in small steps with a progression or two on top, and at the end everybody chooses the version that suits their body that day.
By YogaPros — the professional body for yoga teachers since 2006, with more than 10,000 members across 100+ countries.
Why is a mixed-ability class so hard to demonstrate?
Because the room rarely matches the timetable. The class says all levels. Or it says beginners, and a regular of twelve years turns up anyway. Somebody on the front mat has done this posture a thousand times, and somebody at the back is doing it for the first time and hasn’t mentioned it.
Most of us handle that by pitching at the middle. It feels fair. In practice the experienced students wait through an explanation they don’t need, and the beginners get a version that moves slightly too quickly for them.
Demonstrating every variation one by one doesn’t fix it either. The posture turns into a lecture and the room goes cold while you get through it.
What should you demonstrate first?
The final posture. The full version, shown once, so the whole room can see the overall shape and understand what they are working towards.
That one demonstration does two jobs. Beginners get a picture to aim at. And your experienced students now know what’s coming, which means you can let them go with something like:
“If you’re familiar with this asana and know how to move into it safely, you can come into the full expression when you’re ready.”
That’s their instruction. They move into the posture without a long demonstration of something they already know, and you’ve freed yourself up for the people who need you.
How do you break a posture down for beginners?
Go back to the simplest version of the posture and teach it in clear, manageable steps. Start at the lowest level. Explain the key actions, the alignment points that matter for this posture and any safety considerations, and only then build on it.
A three-level progression gives you a working structure:
- Level 1: the simplest variation, suitable for students new to the practice.
- Level 2: a progression for students who are comfortable with the first variation.
- Level 3: a more advanced variation for students with the appropriate experience, mobility, strength or control.
Plan the levels before the class. Working them out in the middle of a demonstration is where the long explanations come from.
Should you call them beginner, intermediate and advanced?
Better not to, out loud. Those labels can make students feel categorised, and not many people want to be seen choosing the beginner option in a full room. Describe them as options or variations instead. “Here’s one way in. Here’s the next one.” The levels are for your planning; the room just hears choices.
Should you tell students which variation to do?
No. Show the options, then hand the choice over:
“Choose the option that feels right for your body today. You can stay with the first variation, explore the next option, or work with the full asana if that’s appropriate for you.”
That gives students autonomy instead of you deciding from the front what they should or shouldn’t be able to do. You’d get that wrong often enough anyway. Bodies differ in ways you can’t see from across a room, and two students with the same years of practice can find the same posture open to one and closed to the other.
The word “today” is doing real work in that cue. The same student can need a different option next week, and the language lets them take it without explaining themselves.
What does it look like with a real posture?
Take tree pose in a general class.
- Demonstrate the full version once: standing on one leg, the other foot placed high on the inner thigh, arms overhead.
- Give the permission line to anyone who knows it.
- Teach Level 1 properly: one hand on the wall, the lifted foot resting at the ankle with the toes still on the floor.
- Offer Level 2: the foot moves up to the calf, hands at the chest, the wall still there if it’s wanted.
- Offer Level 3: the foot higher on the thigh and the arms overhead, which is the version you showed at the start.
- Invite everyone to choose, and keep teaching the whole room while they do.
One posture, four or five minutes, and nobody in the room has been left waiting or left behind.
Why does this approach work?
A mixed-ability class doesn’t have to mean teaching several completely different classes at once. Showing the final posture and then offering progressive variations lets you:
- give experienced students enough information without over-explaining
- give beginners the detailed instruction they need
- show clear progression inside the same posture, so a student can see their next step
- let every student work at a level that suits their experience and ability
- avoid making beginners feel behind, or experienced students feel held back
- keep the whole class practising together
The aim was never that everyone performs the same version of the posture. It’s that everyone in the room has a clearly explained way to take part, and knows which one is theirs.